Showing posts with label Eric Eats. Show all posts

Saturday, June 15, 2013

Gluten Free Week: Chicken Nuggets


Dear friends, what a week. We ended up taking down the walls in our basement bathroom after some flooding, our interent went down and we're on an epic cross country road trip (AS WE SPEAK). 

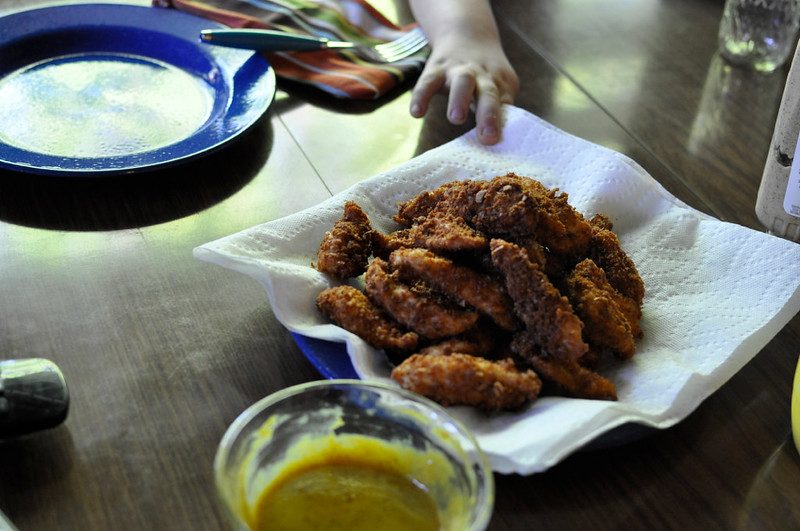
So, the give away winner will be in a follow up post. And without further ado, here is Eric's recipe for gluten free chicken strips. No one will ever know they are gluten free!


Heat about 6-12 cups of oil (depending on how many you are making) to 350 (start it on medium high and let it rise to the temp gradually. We have one of those thermometers that has a clip on the side that you can put into the oil. Don't put it all the way to the bottom where it's touching the metal because you'll get a false temp but put it in the middle (as much as possible) and that should be good. Once the chicken is in the oil there will be enough movement that you shouldn't worry too much as long as it doesn't dip below 300 (they'll start getting soggy below 300). As the process goes on you may want to turn the heat up so that it stays above 300 but you also don't want to scorch the oil and burn the fingers.

Dipping flour (aka DF) we used brown rice flour (you can use soy flour too), you can season this one or just leave it alone.

Egg wash (EW):
2 eggs (or equivalent egg replacer)
2 tbls milk
2 tblsp water
season to taste

Breading (B):
gluten free bread (we used udis white rice flour) cut into cubes
Salt
pepper
garlic powder (or any other seasonings you'd like)
Blend the ingredients in a food processor about 2-3 minutes or until it's finely minced and looks like breading.

Prepare the chicken:
One full chicken breast-both sides feeds the 4 of us, and Lucy also gets one or two. Butterfly the breast. Slice the entire breast to the desired thickness and length, the more you do this the easier it will become.

Once the breast is all cut up take several pieces at a time and dip into the DF to coat. Take from DF and place in EW and make sure the entire surface is wet from the EW. Take from the EW and place into the B making sure that all of the surface is covered. *

*Note about breading anything properly: Always have a wet hand and a dry hand. I'm right handed and always have the DF on the far left, EW in the middle and B on the far right. With my left (dry) hand I pick the chicken out of the pile and place it in the DF, grab it with my dry hand and place it in the EW. From the EW I grab it with my right (wet) hand and place it in the B. From the B I grab it with my dry hand and either place it in a bowl to be fried or put it directly into the fryer or pot with oil. When mixing in each container (DF, EW or B) make sure you are using the appropriate wet or dry hand.

Fry each batch for approximately 8-10 minutes (depending on how many you have in the frying device). Or until the pieces are floating at the top for about a minute each. If you are unsure you can pull them out of the frying liquid and temp them, they should register around 160 but they will also continue minimally cooking after they have been finished, so if it's close don't worry.

Also, please note I've been frying food for many years and eyeball a lot of things, if you aren't sure initially I would temp it or leave it in a little longer (if it starts turning black it's gone too long). We also try pieces along the way tearing them open to make sure there isn't any red but that they are also nice and juicy. This also gives you an idea of how long to cook them.

Also, if we're doing big batches we'll sometimes turn the oven to about 200 and put them in there just to warm. We typically turn it on and once it's reached the temp turn it off so the oven is just warm enough to keep them from getting cold but also it's not going to dry them out.

We used to make these with conventional flour and the kids loved them. They can be a bit time consuming so try it for a Friday night movie night, but also make sure to give the kids a snack once you get home so they aren't too crabby from having to wait a few more minutes for these to be done. I promise, you nor they will be disappointed.

We've also starting making our own honey mustard and though the kids haven't starting eating it we love it. We just take the desired amount of honey and mustard. We typically mix regular yellow mustard with something stone ground or spicier and then add as much honey as we like until we gain the consistency we want. You can also add some mayo to make it thicker and try some horseradish to add some more spice. Really the possibilities are endless. I also make homemade BBQ sauce, but there isn't really a recipe (see everything is free flowy).

Whatever you do, just try it, they're way better than fast food and you and your kids will be so thankful that there are options for GF chicken nuggets.

Tuesday, July 12, 2011

Tasty Tuesday: A Summer Table


Is there anything better than fresh summer produce? I feel like in these months where the gardens are bursting and farmers' market is bustling we are blessed with the most delicious, simple meal.

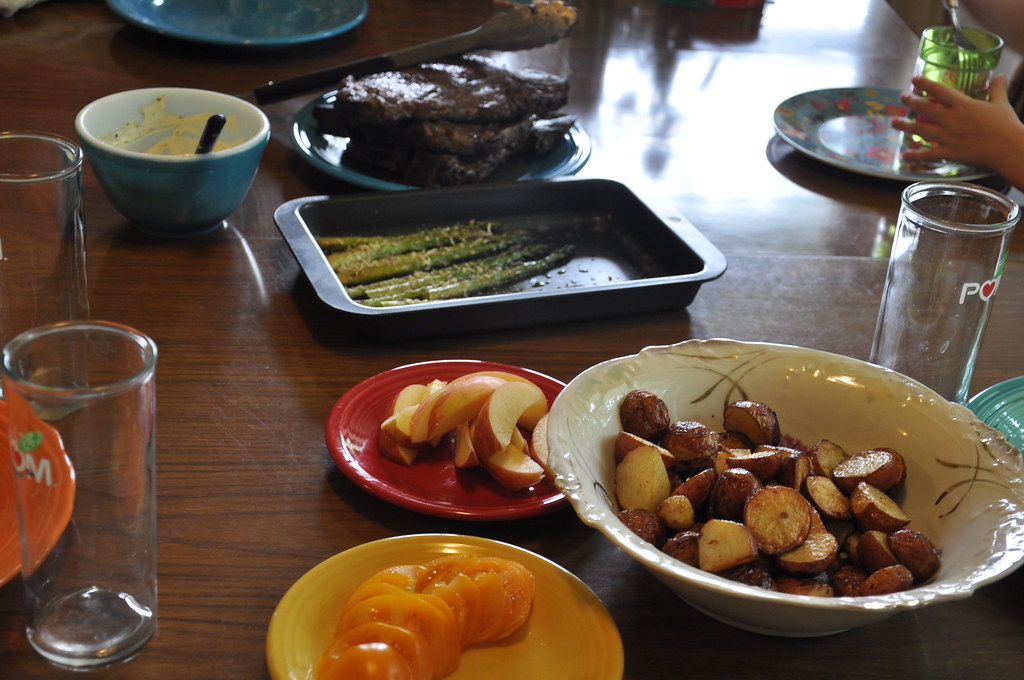
This is our typical summer dinner. Meat on the grill, roasted veggies or simple brown rice, lightly salted tomotoes, cut up raw fruits and vegtables.


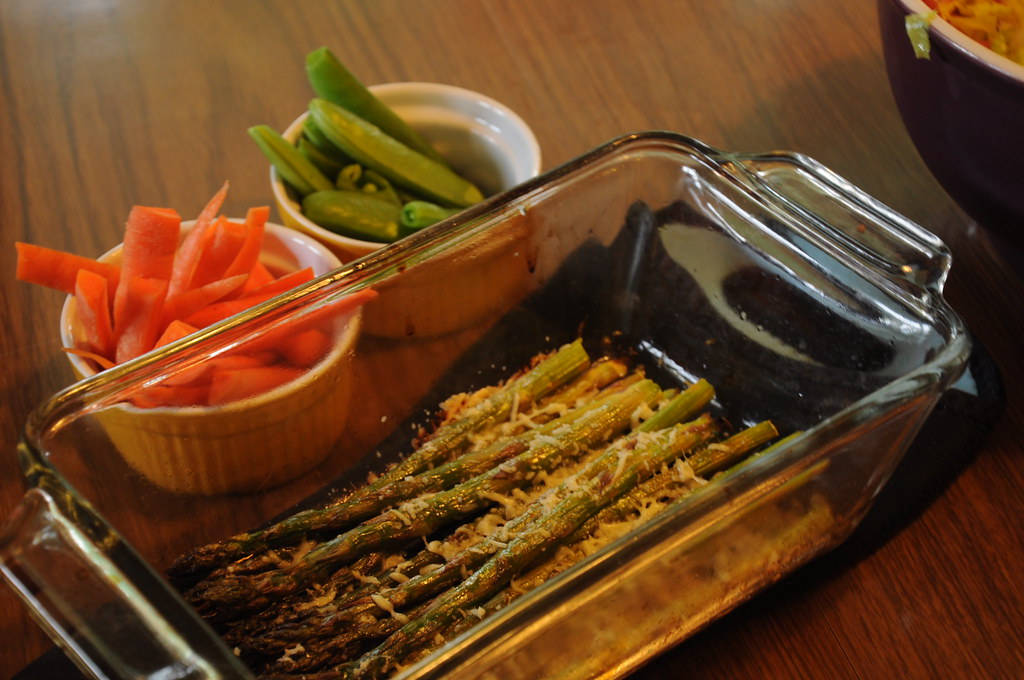
On this particular night, celebrating Father's Day. We had T-bones... Catherine Newman's recipe for Ausparagus with Lemon and Parmesan (made three nights in a row), roasted potatoes, tomatoes, apple, sugar snap peas, carrots. In the words of Truman, this dinner was 'Nice and Fresh!'
What is your favorite summer produce? Do you dinners change in the summer?

*Linking up via Trailer Gypsy to:

Thursday, June 30, 2011

happycampers: Stovetop Lattes


Are you going camping for the holiday? I was just day dreaming about our three day trip coming up. Three glorious nights listening to the wind, the rain, birds and other campers. Tent sleeping and outdoor-fresh air-first-thing-in-the-morning-warm-latte drinking.

Whaaaat you ask? Lattes in the wilderness. If you travel with us,Yes!


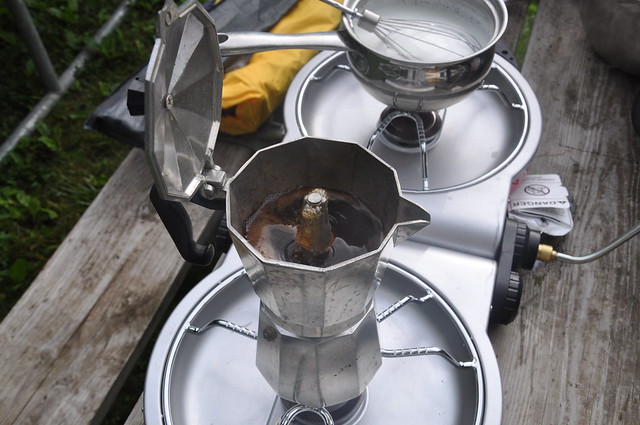
To make our camp stove lattes-- all we need to bring extra is our Moka pot. We like to pack light, so I'm glad the Moka is small.

Do you have a Moka pot? We love, love it. It's stove top, compact and easy to use. I got ours on ebay a few years ago for $9 bucks. It brews espresso-strong coffee and we mix it with whisked milk with just a hit of sugar. Camping coffee at it's finest. (Brewing tips here).

And recetnly, we needed to invest in a camp stove. For the six years we've been married we've made do without one. I'm not sure how. We really only had one style in mind, when we went to get it --the green Coleman Stove just like my parents but when we got to the store, we found that they were all sold out. We tried the next best thing a Coleman Fold'n Go 2-Burner Stove.

And after a few uses, I think I can say we love it. It cleans super easy, cooks evenly. And the only thing I look for next time is a wind screen, but I'm sure we can rig something up.

So if you are in the wilderness having a hankering for a latte, stop by our campsite. We'll make you one for you on our new stove! My kids will even wash your dishes....

Wednesday, June 29, 2011

Breakfasting....


Eric made us a delightful breakfast of pancakes-- regular and chocolate chip. Eggs with bacon. Lattes and fruit.

It's the normal Saturday/Sunday thing we do-- make a big leisurely breakfast and eat around the table in our comfy clothes. Taking our time to do nothing but talk to each other.

This week was special, Tammy visited from California. And on her birthday weekend no less! We were unsure, how much we'd get to see her (being in town for a wedding and all!). But It was good to share breakfast and to see Cars 2 for Truman's upcoming birthday.

The kids even made cakes to celebrate... but we couldn't get everyone back in the same place at the same time to enjoy cake together. O well, it is what it is. But we're glad we got to see her and have a beautiful brunch-- with lattes in our sweats.

And that's the perfect kind of Saturday.

Friday, June 3, 2011

Repeat: WEEKENDhospitality:: Raised Donuts

This post is a repeat from last April, but perfect for National Donut Day!

My husband is an amazing baker, he made these beautiful donuts for our weekly Sunday lunch.

Enjoy some delicious eye candy!

Mary


Last week we made the dulce de leche chocolate cake.

This week it was time for something new. Raised donuts, something I hadn’t made since childhood. Well technically-- I never made them, then, and don't even remember eating them. I remember cutting them and watching them fry. But still...


Borrowing the recipe from Sherry Yard's Desserts by the Yard--I found a donut recipe that I knew wouldn't disappoint.


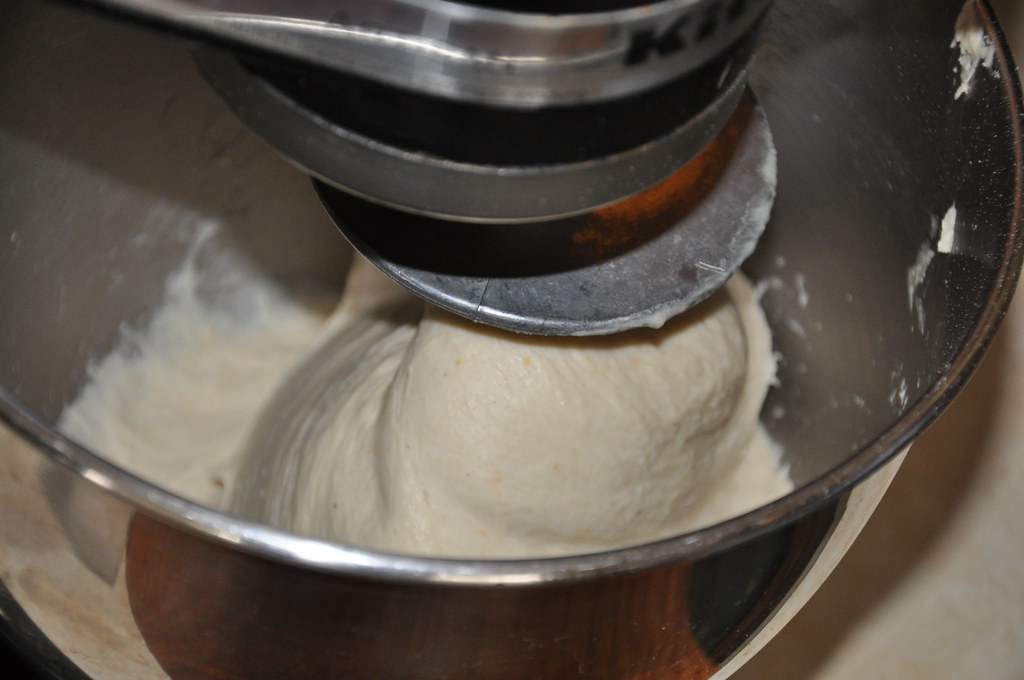
So early on Sunday morning the process began. Warming milk, adding yeast, waiting. Adding flour, sugar, etc etc, waiting.


Kneading and more waiting. 


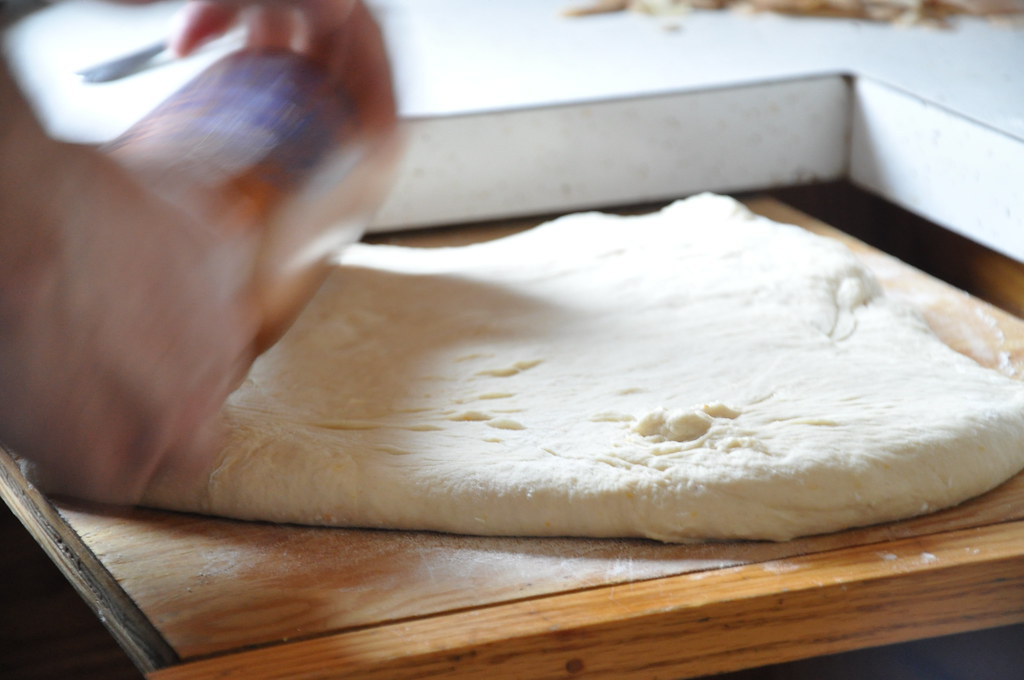
Rolling and freezing and more waiting. 


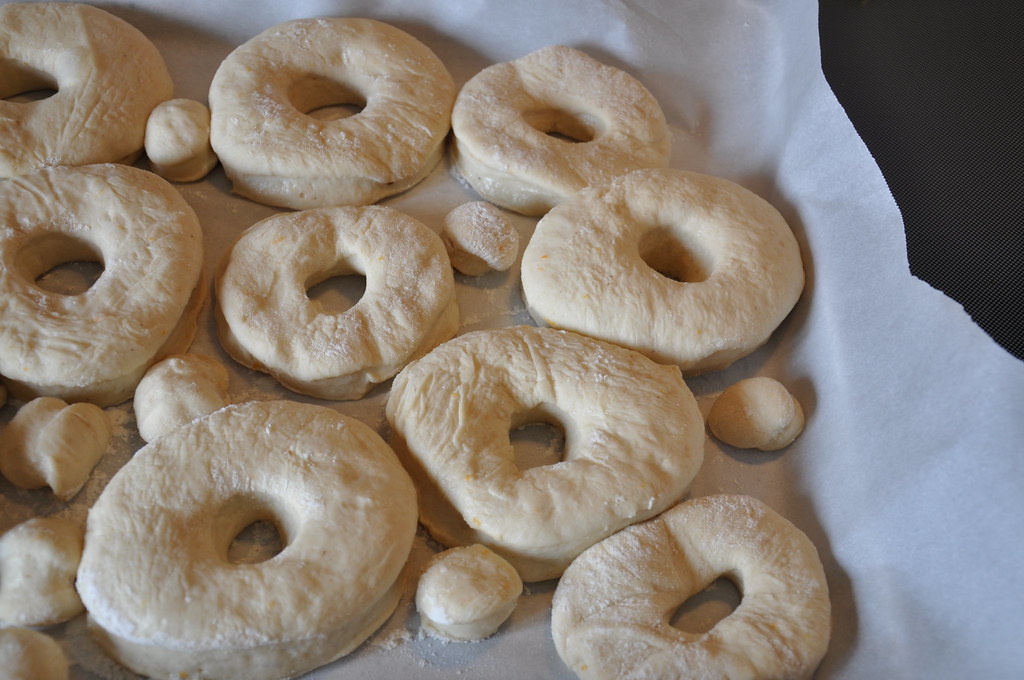
Cutting and more waiting. Then, they were ready. 


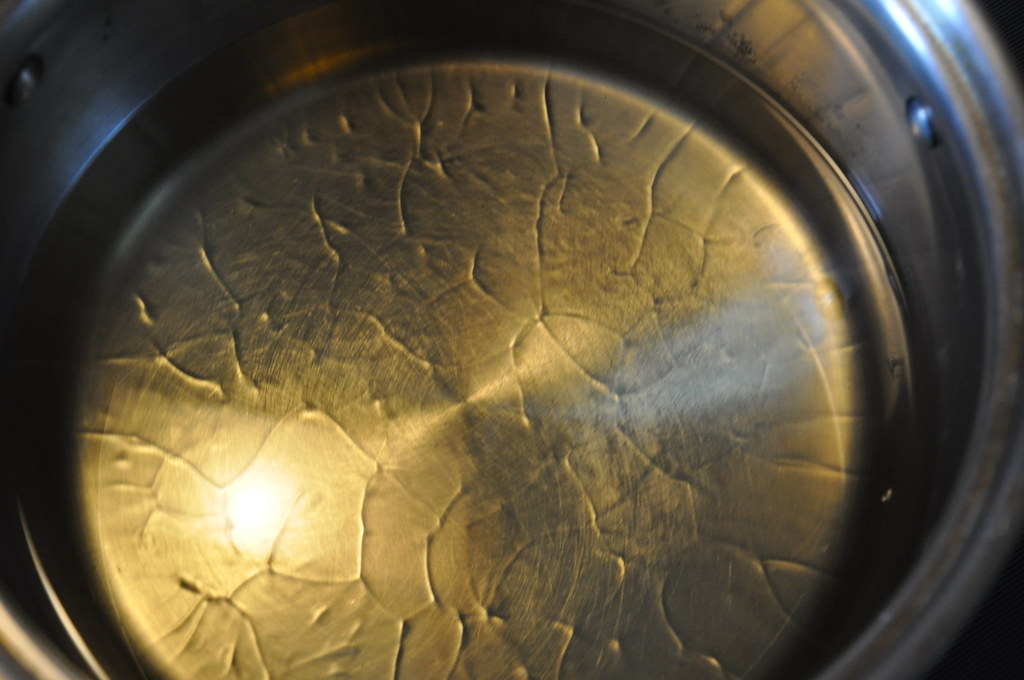
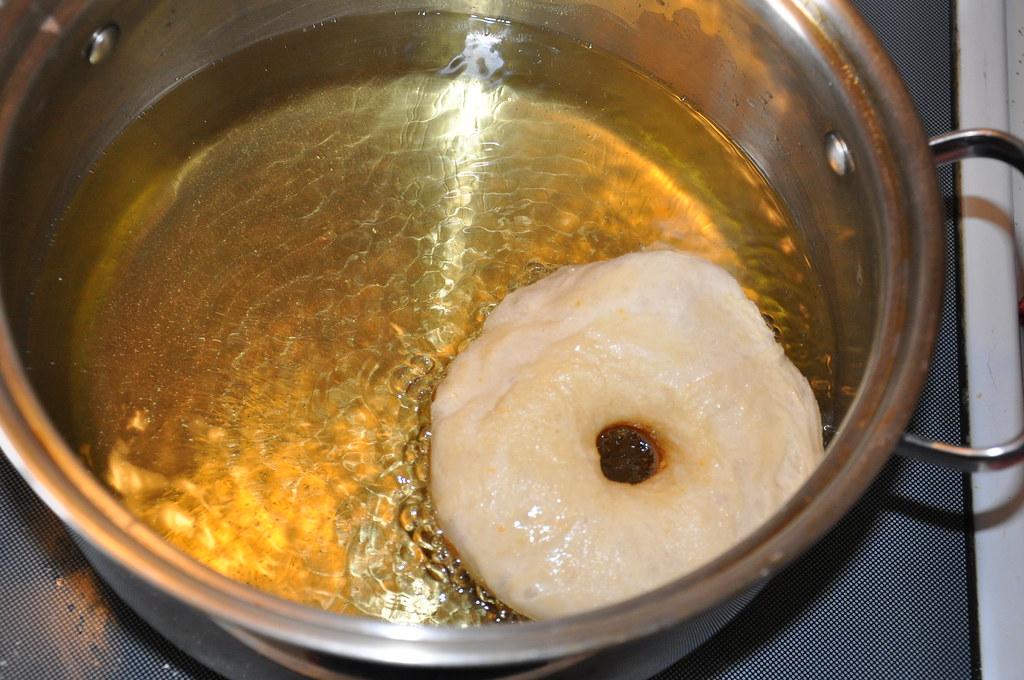
The oil was warmed (though I'm sure it was too hot as I didn't have a thermometer to check it with) and the first one was dropped in. It was working, though very large and continuing to expand it was flipped and I could see it was going to be good. 


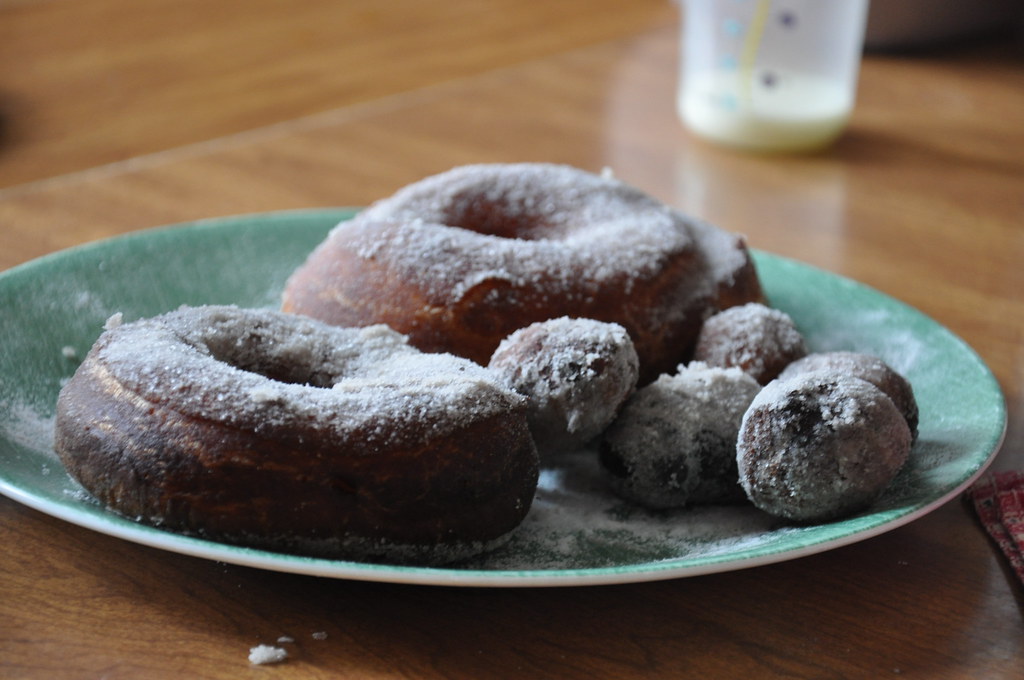
After it was pulled out of the oil it was doused in espresso sugar I made by putting regular sugar in my coffee grinder and pulsed away. I added more sugar to the mixture that wasn't pulsed to get the preferred consistency of sugar. 


Then the waiting was over and it didn't take long for them to be devoured. They were delicious with just the sugar topping, but we added an espresso whipped cream (with a shot of Bailey’s Irish Cream!).  


The only problem that I found with this recipe? It didn’t make nearly enough. The batch did make approximately 14-16 donuts but between the 6 adults and 2 little people. Maybe next time I'll double the batch, or just not eat so many myself (I think I had 3 or 4).

Thanks and stay tuned to next week when we make something new and share it with friends. 

Tuesday, February 1, 2011

i Love:: Weekend Breakfast


On Sunday, Eric greeted me with a latte and breakfast in bed, for no apparent reason. Geez, I'm in love.
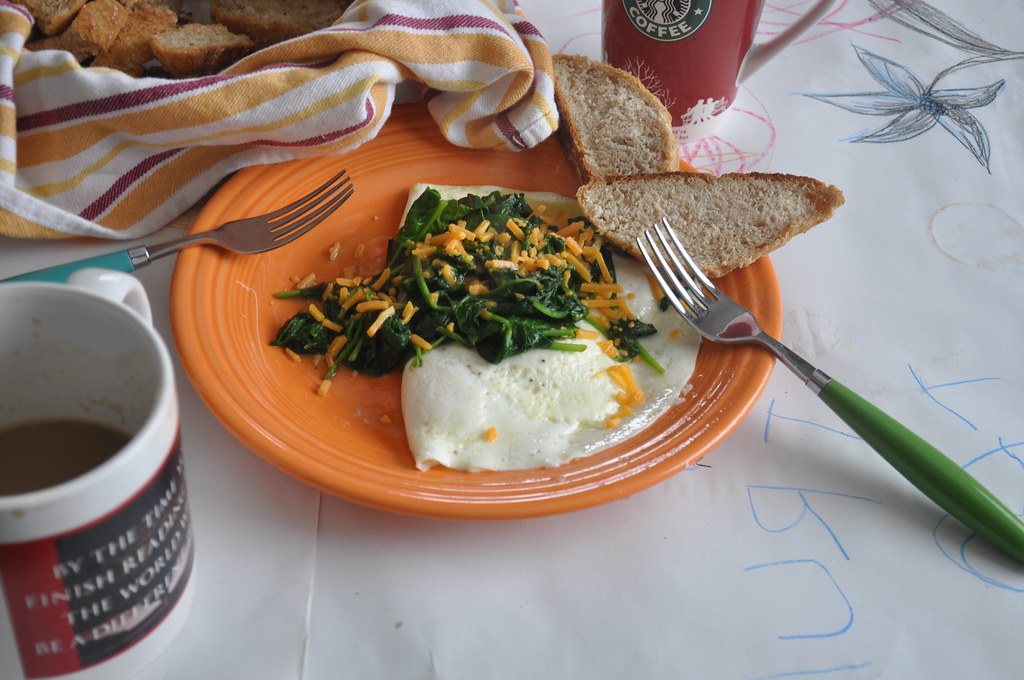
Breakfast included my favorite weekend fare (much like the breakfast from a few weeks ago, pictured above), eggs over easy with spinach and whole grain bread. 

What is your favorite weekend breakfast? 


Sunday, January 23, 2011

Weekending: Around the Kitchen Table


This weekend was wonderful... both kids have Strep and though that was a bummer, we had a few great days of housebound-ness. It was just what the doctor ordered.


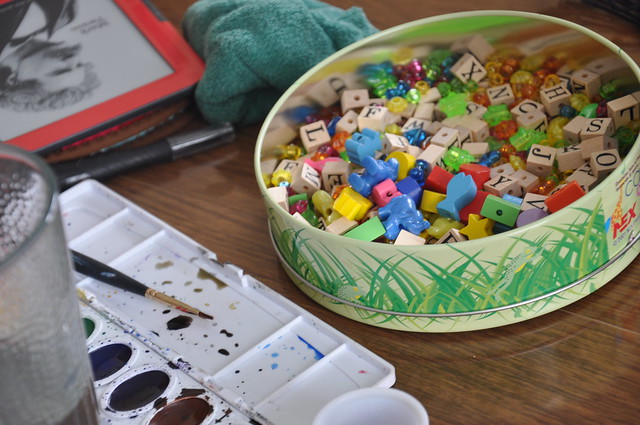
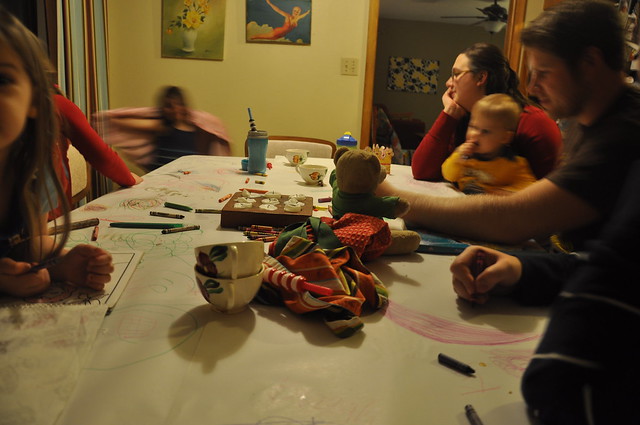
On Saturday we spread out on the kitchen table. Breakfast and beads intermingled with water colors, finger paints, crayons, markers, window markers.


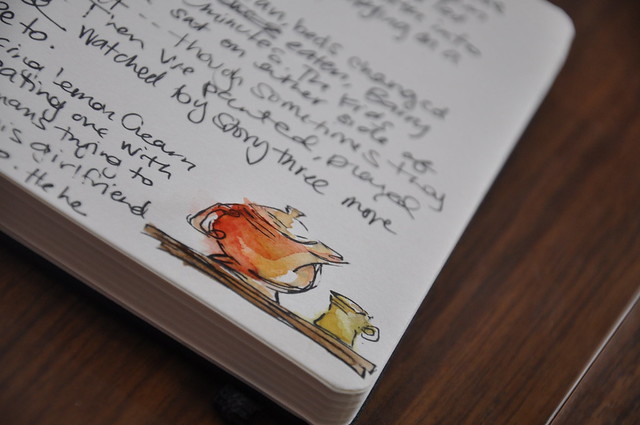
They felt too awful to really move any where, so I just brought all the stuff to them and we spent a few hours together staring out the front window and enjoying each other--  I got some time for journaling/water coloring and Eric baked!

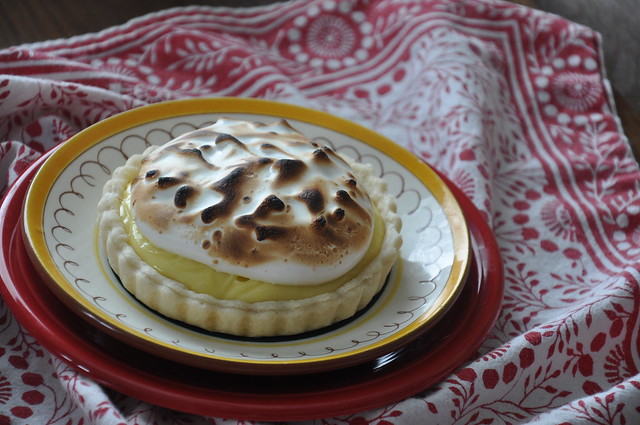
{Lemon Cream Tart}

Tuesday, January 18, 2011

Eating and sharing


We ate so well this weekend. And I'm still full thinking about it. I love sharing meals, it just fills up my soul. Good food + sharing = heaven.


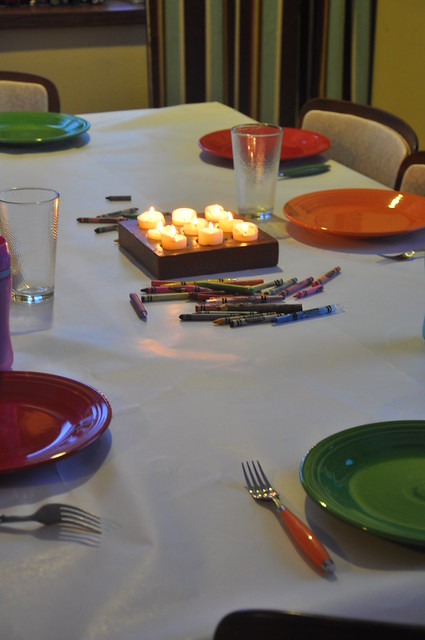
Lasagna TWICE! First when our friends came over dinner at our 'Italian restaurant' which was just our white paper wrapped kitchen table with candles in the middle. The kids were thrilled about coloring.


Eric made Eclairs... so delicious. Trubey kept stealing them out of the fridge. Aren't they beautiful??

Sunday lunch with more friends-- Lasagna round #2!

Later in the afternoon we took a drive to pick up some paint to finish up a project and while we drove home we all brainstormed dinner ideas. We listed off the ingredients we had in the house and thought how to use them best. Isabel loves soup right now-- and so with the drawer of veggies, left over chicken and some cheese we thought up, broccoli soup with chicken.

Little do they know that now we have an emersion blender.... so much more went into broccoli soup than broccoli!
Broccoli Soup with Chicken
1 small onion (or half a medium onion)
2 carrots chopped fine
2 medium potatoes chopped fine
1 clove of garlic
1 cup of loosely packed spinach
3-4 cups of chicken stock
1 cup of low fat cottage cheese
1 cup whole milk
1 medium head of broccoli and stem roughly chopped
1 tsp of honey
1 piece of bacon
2 tablespoons of butter
Olive oil
Salt and pepper
1 cooked chicken breast shredded (warm)

In a medium stockpot add butter and keep on medium heat until melted then add onions, garlic cook until translucent and soft. Add the bacon, stirring until bacon is cooked. Add potatoes, carrots and broccoli then add about a table spoon of olive oil if needed. Lightly salt vegetables. Let cook for 5-7 minutes. Then add spinach (lightly salt again) and stir until wilted. Add chicken stock and let boil until potatoes are tender. Add the cottage cheese and milk. Salt and pepper to taste. Use an emersion blender or blend in a regular blender in small batches until soup is smooth. (If using a regular blender: return to pot). Add shredded chicken.
Stir in the whole milk and honey. Salt and pepper more if needed.

Serve with shredded sharp cheddar cheese on top and crusty bread! Serves about 4 people.

Friday, January 14, 2011

His Girl Friday


This morning was wonderful. The kids have been crabby all week. You'd think with a week of snow days we'd be a little more joyful. But they have not been. Finally this morning, they slept until they woke up (which was on time!!) then all four of us snuggled in the big bed until it was time to get ready for our day.

I am eternally grateful for mornings like this. Happy kids: no teeth-brushing-negotiations, no snow-boot-wearing-negotiations and no coat-and-hat-negotiations.... ahhh wonderful.

Thank you for your reception to Revisiting Sanctuaries. All your words, calls and emails-- I am excited too! More information out next week. Plus a little look into the heart of it.

Here are a few things around the web that have been keeping me going this week.

This scene of Yosemite, I miss this place-- being thousands of miles away. 

I'm loving my free Owl Lover Calendar. You could make one too! 

This Recycled Canvas Bag from etsy. 

This week I made laundry soap and I'm reminded why I love this so much. Cheap and cleans our clothes so well! I'm not trying to jinx it but, we have had the laundry caught up for three weeks. That's the longest it's been caught up in our marriage. And something about a clean laundry room is more motivation to keep it cleaned up!

Eric made Chicken Stir-Fry with Soba Noodles last night. It is such an easy week night meal!


This perfect latte. Some wonderful looking eggs.

And this book. Which I'm devouring.

What have you been admiring? Give me some link-love for today!

Photo from Country Living via here

Thursday, August 5, 2010

What’s not to love about summer herbs?


This year we have been blessed with basil and mint. So much so, I’ve been new and different ways to utilize them.

Last night, I made basil infused olive oil. It’s not as fancy than it sounds, but it is delicious. For sauces, pasta, salad dressing, brush on french bread slices and make crostini— a little surprise in about anything!

Basil Infused Olive Oil
You will need:
Good quality olive oil
Clean canning jars (pint or quart depending on how much you make)
Good handful of washed basil leaves
About a pint to a quart of olive oil
Blender or Coctail shaker. Or bowl and strainer...
Coffee filter

Two methods:
Blender— In a blender blend olive oil and basil. Strain through a coffee filter and store in canning jar. Will last about 11 days in the fridge. Freeze for longer keeping. The left over basil puree can be used for pesto.

Muddled(preferred)— In my cocktail shaker I muddled the basil and with a handle of a wooden spoon. Muddling releases the natural oils and aromas of the basil into the oil. Giving it a deep, rich flavor. And used the attached strainer to strain the oil into jars. Will last about 11 days in the fridge. Freeze for longer keeping. The muddled leaves can then be food processed for pesto.
And I’ll shut up about my cold soon. But it’s still hanging on. So I made Mint tea last night. And proceeded to drink the whole pot of it. With just a touch of organic sugar.


Then my husband made me some Mint tea with honey and lemon. It didn’t make my cold go away but it did make me feel warm and cozy inside. Which is good.
Mint Tea with Honey and Lemon
A generous handful of mint leaves
Tea pot
Boiling water
Honey to taste
Half a lemon’s juice

In a tea pot, place a bed of clean mint leaves. Pour over boiling water, steep for 3-10 minutes. The longer you steep the more flavour you’ll get. Add add the lemon juice to he pot. Pour into mug and use about a tsp of honey per cup of tea.
Ok, so mint tea is not inventive. But it’s refreshing and delicious.

Do you have any good ideas for herbs in excess?

*Basil photo by aaron_01m

*Mint photo by Trulybeautiful *Helen*

Tuesday, July 6, 2010

A Special Day.


Today, my dears, is Eric's birthday. We've celebrated here and there all weekend. He treated himself, (and us!) to a large batch of pulled pork with his homemade bar-b-que sauce. Ahh yummy. And tonight? Mexican Hot Chocolate cake. Yes please.

To the man that makes everything in my life make sense. Have a very blessed and Happy Birthday.

Love love.

Tuesday, June 15, 2010

Our new neighbor...


Eric started it. He came home, as a surprise with two cups of coffee and two homemade muffins. While I was singing twinkle twinkle, he ran just down the street. And then we had a date at our own table, by our own front window. And the coffee was still piping hot.

Here's the story.

We had a coffee shop move in to our neighborhood, at the end of our alley. Only 4 houses away. And they make amazing coffee— bold and flavorful.

I would be lying if I said I wasn’t there three times this weekend. Because I was.


In all seriousness, this building is an icon in our town. It used to be a very cute shop with lots of home décor items, purses, curated antiques, floral arrangements, plaid napkins and kitchen towels. It was a jack of all beautiful trades for this little town. But, it closed and the building has been empty for a few months.

Then this little coffee company came along, locally owned by a professor and family. They make all their coffee pour-over, drip brewed with these. It’s a simple little process that proves to hold a big, bold brew. They have baked-in-house muffins and cookies. And cold brewed coffee too, and it’s super smooth.

So if you see me on a Friday night or Saturday morning walking down the block with two full cups of coffee, don’t mind me. Or, get your own cup and come sit by our table for breakfast.

Wednesday, June 2, 2010

corner view:: from where I'm sitting

Outside:

[Picnic at Stone State Park]


Inside:

[Aftermath]

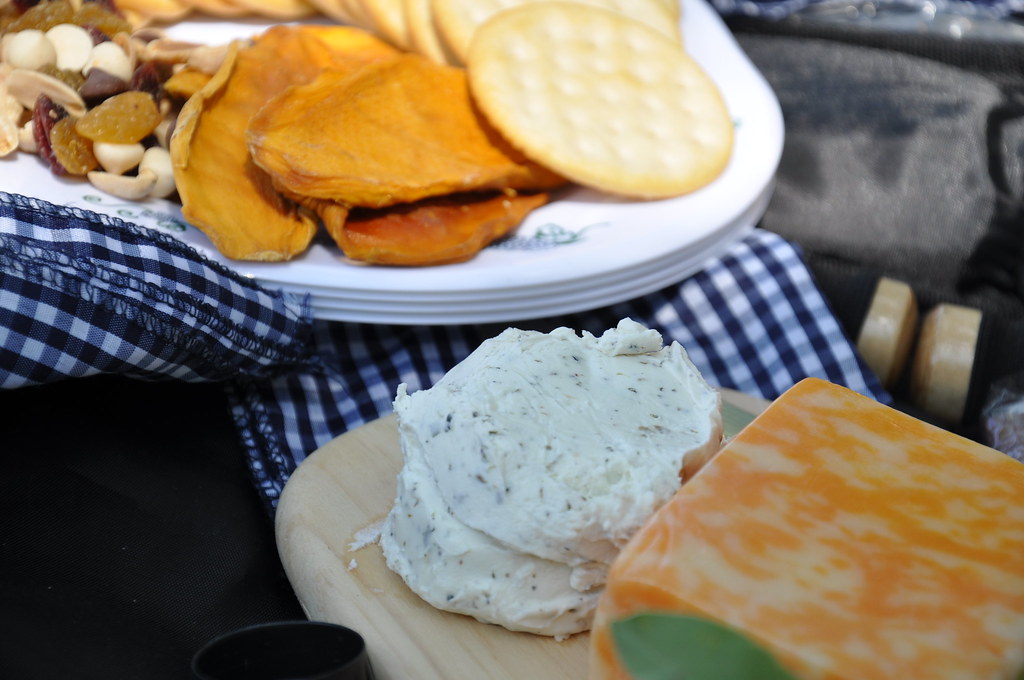
From where I sat this weekend, in the grass under a tree on a picnic with the girls-- on our hike. Larissa surprised us with crackers, goat cheese and sparkling berry cider. Emily brought dried mangos and trail mix. Oooo dried mangos and goat cheese. Yes please. 

On Monday... every meal was awesome. We sat for our regular friends and neighbor's breakfast-- Eric's pancakes and bacon, fruit and coffee. Handmade maple syrup. We moved out to the front yard, where the kids played and the adults basked in the sun.

Chips and salsa, a couple beers and conversation for lunch.

For the evening we went for a BarBQue at Ryan and Katie's. We were tired and well fed by the end of the day!

Loved the view 'from here where I'm sitting." Where did you sit this weekend?

Tuesday, April 13, 2010

WEEKENDhospitality:: Baked Bakery Cookies


Thank you so much for the book suggestions, keep em coming and I'll put together a massive list soon. 
This Sunday bordered on perfection, walking to church in the sunshine, good food, good friends naps and a trip to the park. Really what else could you hope for? We have friends that we share a meal with every Sunday-- family dinner style. This has been such a grounding ritual for us, if you have a group of friends who like to eat. Join up for a weekly meal, you won't be sorry.  --Mary
 :::::::::

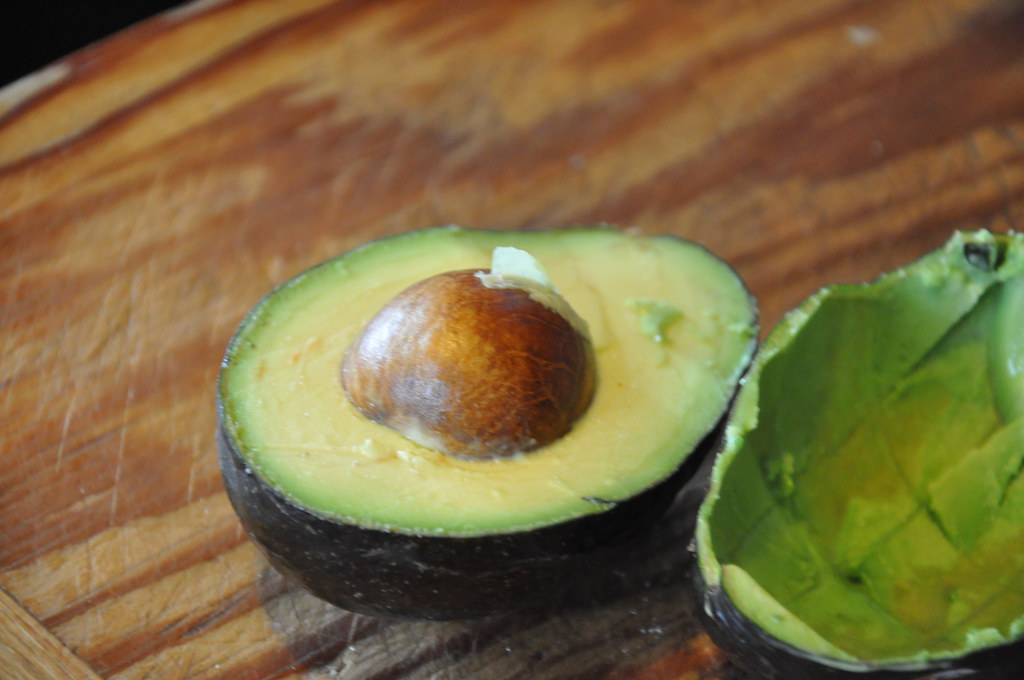
This weekend our friend, Bob made the best guacamole, hand-formed burgers, fresh cut potato wedges and served with ice cold beer. What a great meal! It was great to spend it with friends enjoying the beauty of sunshine coming through the windows.

I decided to keep it simple this week, even though Truman wanted donuts again. My trusty dusty easy fall back is the classic and always delicious chocolate chip cookies. I used a recipe from this book but altered it by adding a tsp of cocoa powder (always delicious). I love making chocolate chip cookies and make them whenever there are chocolate chips in the house.
The funny thing about this recipe is how different they turned out (I made some at lunch and some as an evening snack with Mary). At lunch I didn't have my silpat and just put them on a stainless cookie sheet. They came out crispy and flat, yet very delicious and the chocolate oozed. 
At night I used my silpat and cooked them the same and they came out much nicer and chewier. The chocolate was still oozing but they had a better consistency and I liked them better. I will definitely be doing this one again.
What is your favorite quick fix fall back recipe? 
--Eric

Monday, April 5, 2010

WEEKENDhospitality: Generosity of Spirit

 
"Hospitality" can also mean generously providing care and kindness to whoever is in need. 
--Wikipedia
 
For the past few weeks we've spent time together discussing recipes and food ideas. This week I would like to focus on the purpose of these postings. 


 This weekend was spent being hospitable. Friday we took the kiddos to Sioux Falls for the day and invested in coffee and bread (two of our favorite food groups). 


We spent time at the park eating and playing and just being silly. It was a great day. Saturday we had a house full of friends and beautiful babies running, playing and of course eating. A pot luck of favorite breakfast foods, pancakes, bacon, Emily's bran muffins, Maria's egg bake, bowls of fresh fruit and preserves.


Sunday was spent with our friend, Bob enjoying the afore mentioned bread in grilled cheese sandwiches (with green peppers, onions and tomatoes!) and homemade tomato soup.

As Mary and I discussed our favorite events throughout the weekend I said that my love bucket was full and bursting. I love nothing more than a housefull of happy people breaking bread together and enjoying good food, good friendships, good conversations.

What would life look like though if we were hospitable to the other people who are in need. What would life look like if we were hospitable to the person in the grocery store, or the driver tailing us on the way to work (or the persons I tail on the way to work). What would life be like if we lived hospitable lives intentionally to those we are closest to? What if I was hospitable to Mary every day, to Isabel and Truman, to Lucy...

Now that lent is over and life moves to the next seasons, maybe it would be good for me/us to practice hosptilaty. And not just to those who come into our houses for a meal, but maybe those who live in our houses everyday, to those we pass everyday without really noticing.

Have a great day and pracitice hospitality to whoever is in need, even if it's your family.

--Eric

Monday, March 29, 2010

WEEKENDhospitality: Perfect Partners


Chocolate and Coffee.
Need I say more?
This week I’m going to discuss the process of creating a delicious espresso. If you have an espresso maker or other fancy device this post isn’t for you. If you’re lacking in the $1000 to buy a new espresso maker with steam wand, and stainless steel body, etc etc etc. (I dream), then this post is so for you. If you don’t already have a stove top espresso maker, go buy one for a much cheaper $30+. Or do what Mary did for me a few years ago and buy one on ebay for $15+ shipping.
All good espressos start with good espresso beans. Our favorite is an organic fair trade espresso we get from the CO-OP Natural Foods in Sioux Falls, SD. We’ve tried other more famous brands before and have been disappointed with the results, so we try to stay away from those as often as possible. We’ve also done regular and decaf coffee in the pots and they’ve turned out pretty good too, especially if you only want one cup of coffee.
The process starts-- of course-- with your grind. We only have a small blade grinder we got when we got married and it takes about 30-50 seconds to get a fine grind. Trust me, to get the flavor you want a fine grind, not coarse like you’d use for drip coffee or French Press.
After you grind your coffee. Follow the assembly instructions, filling with good quality water, etc. Next you’ll need to practice a good amount of patience. I like to turn my burner to really low. 

For a good cup it takes about 10-15 minutes, but trust me it’s well worth the wait. The aromas that will fill your kitchen as you’re preparing the coffee are amazing! I love to watch the dark brown thick espresso ooze out of the spouts. (mmm I’m getting thirsty describing it)

While the coffee is taking longer to get ready than I do in the morning-- I get the milk going. I pour about 1-2 cups of milk into my small pot. I add about 2  teaspoons of sugar just to give it a little more sweetness and then turn the heat up (not too high you don’t want to scorch the milk, you want to heat it slowly). Taking a whisk I start whisking. I’ll start and stop as my heart pleases. Then once I get the right consistency of foam on top I turn the heat off and hopefully by this point the coffee is done, if not, just let it sit, it won’t hurt anything.


Then I add the shot or two of espresso and then desired amount of milk and foam to the desired coffee mugs. I like my lattes to taste like espresso and not milk. For me the milk is more of a medium through which to enjoy the espresso not overpower it. 


Use the wisk to hold the foam back as you’re pouring and then plop a bit of it on top and enjoy. If you have extra milk and have a kitty in the house (ie. Isabel) pour the remainder into a little mug and let them enjoy the warm milk. (If it’s too hot, just add some cold milk, they’ll love it!)


Now for the chocolate. Chocolate Friands from the Tartine cookbook.
Yesterday we celebrated our normal Sunday afternoon lunch, but added some delicious chocolate treats for a good friends birthday. We even had a candle that Truman helped blow out.


These “small mouthfuls” are simply delicious and super easy to make. What treat doesn’t taste good when you use chocolate, butter, sugar and flour? Oh and there’s a yummy ganache (cream and chocolate) topping. Mine didn’t turn out quite as nice looking as the picture, but they were delicious none the less.
Hope you had a great weekend and enjoy making espresso and chocolaty treats.

--Eric

Tuesday, March 23, 2010

WEEKENDhospitality: Cheesecake


From Eric:


Cheesecake is such an easy dessert to make but such a difficult one to master. For me, cheesecake was the first dessert that I ever created my own recipe. My dad loves peanut butter so one night I decided to play around with different peanut butter filled items: Reese's pieces, peanut butter chips, peanut butter, etc. I had noticed that the afore mentioned cheesecake cookbook had certain ratios of cream cheese, eggs, etc so I decided to try my ratio and it turned out perfect! 


Ever since then I have tried time and again to create the "Great Cheesecake."

I never repeat a recipe that I've made before, mostly because I can never remember what I've done previously. I never write down my recipes, I know the ratio and just add other ingredients as I see fit. I've made Pumpkin, Chocolate Swirl, Plain and many other variations. 

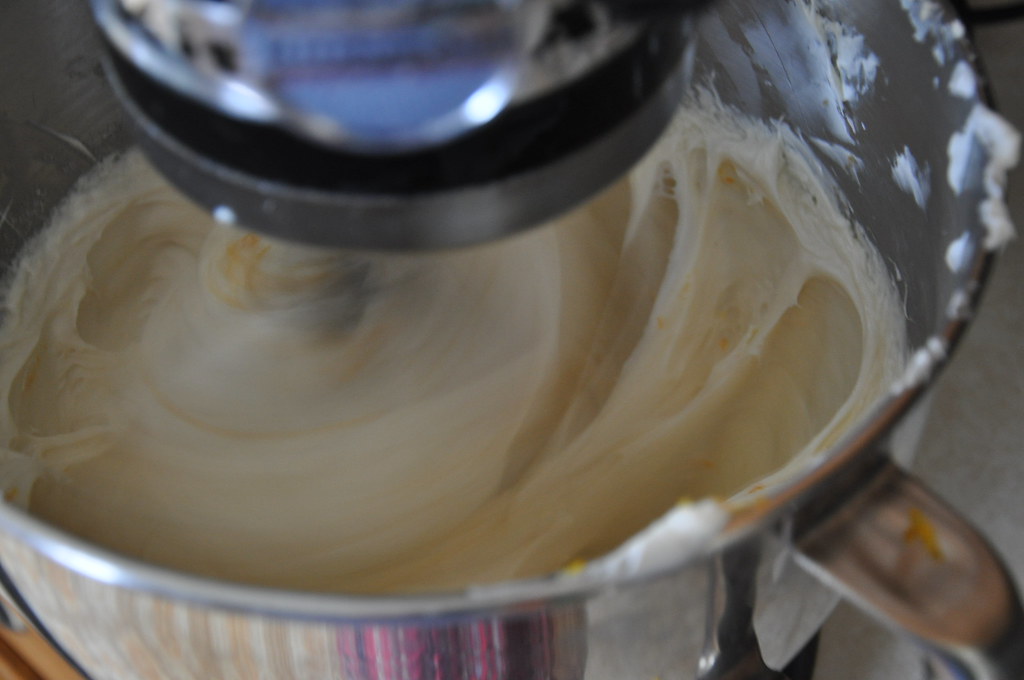
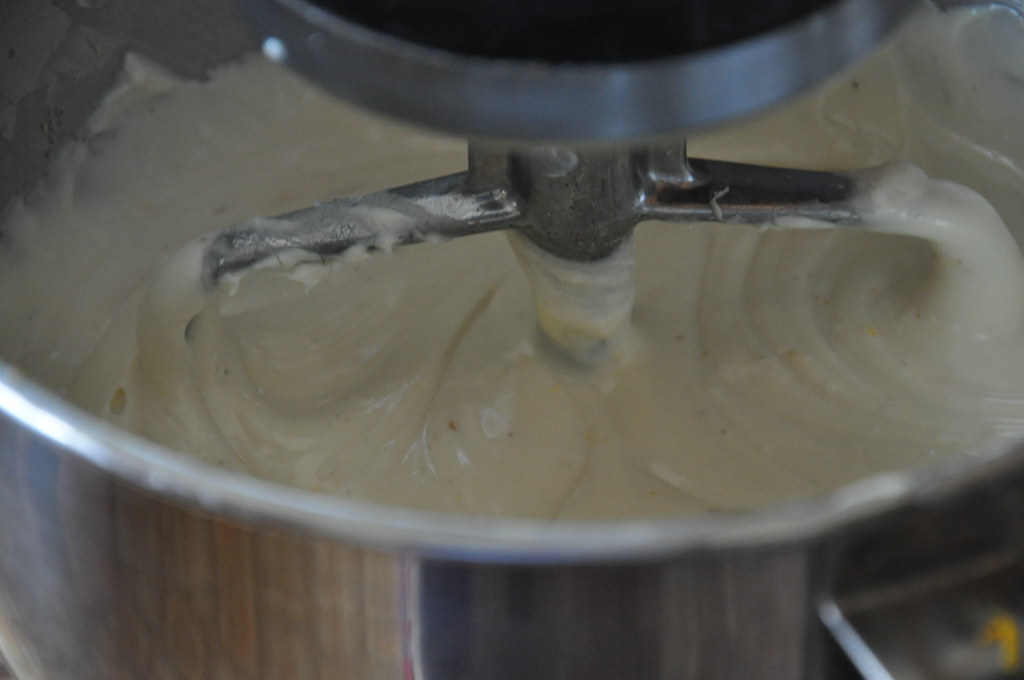
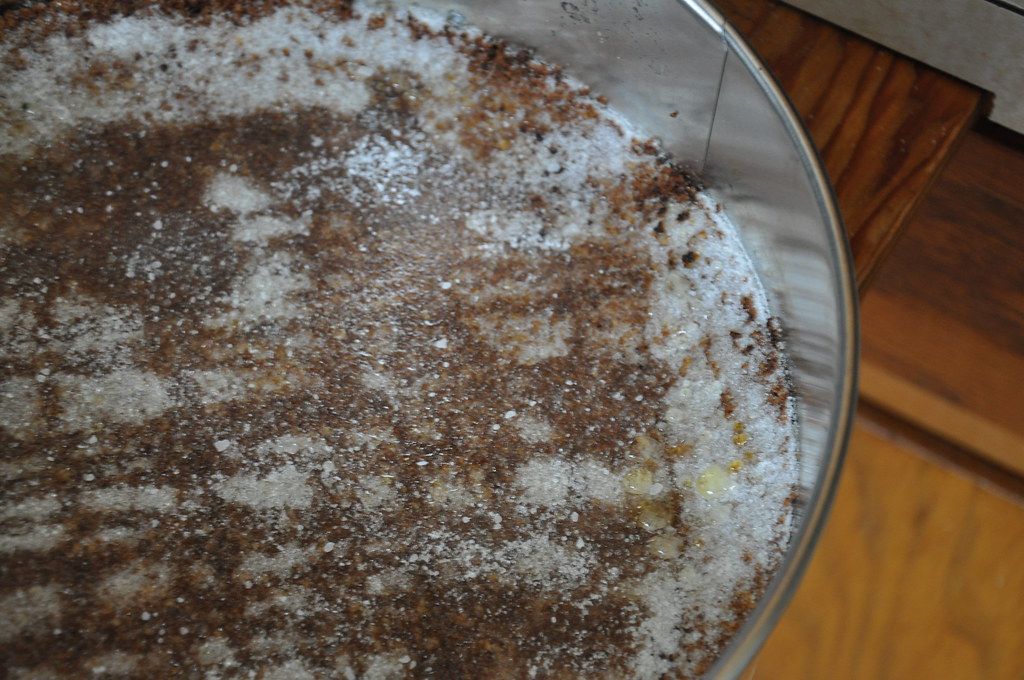
This week I went with my normal Plain recipe and it was all going well. I had to use cereal for the crust, which as one friend explained was kind of like a cookie. I used my food processor to get the right consistency of crust (Cheerios and Special K). I mixed in my desired flavors, vanilla, cloves, freshly ground nutmeg, butter, salt, sugar and placed it all into my springform and baked it. 

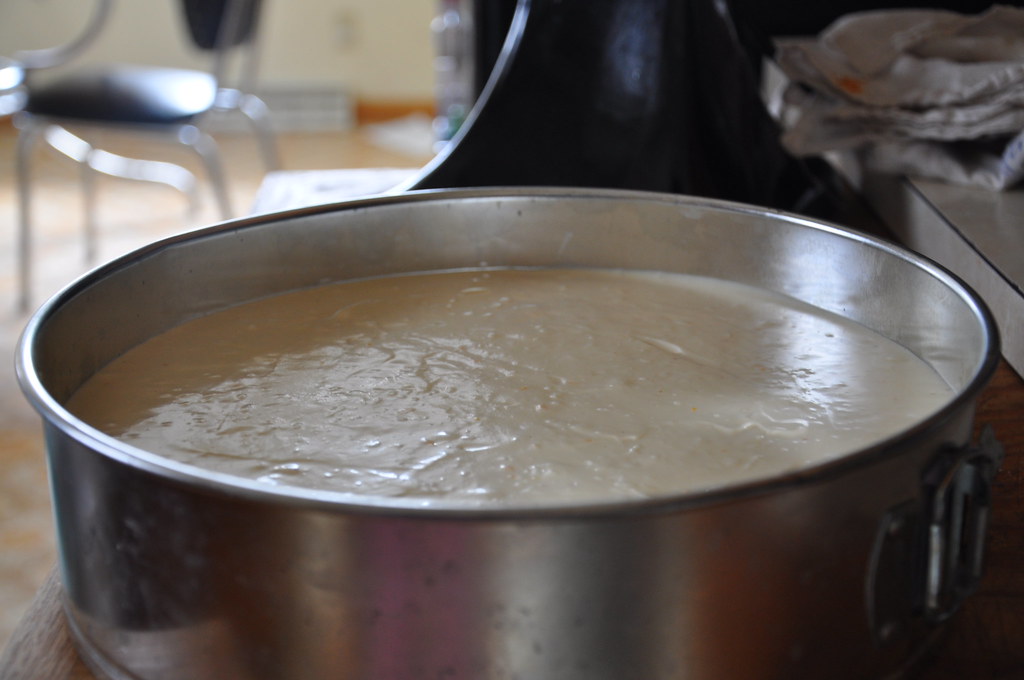
 After cooling I added the cheesecake base and baked it at 400 for a while. I don't remember how long it was, 15-20 minutes probably, then I turned the heat down to 325 and baked it there for another 30-45 minutes.

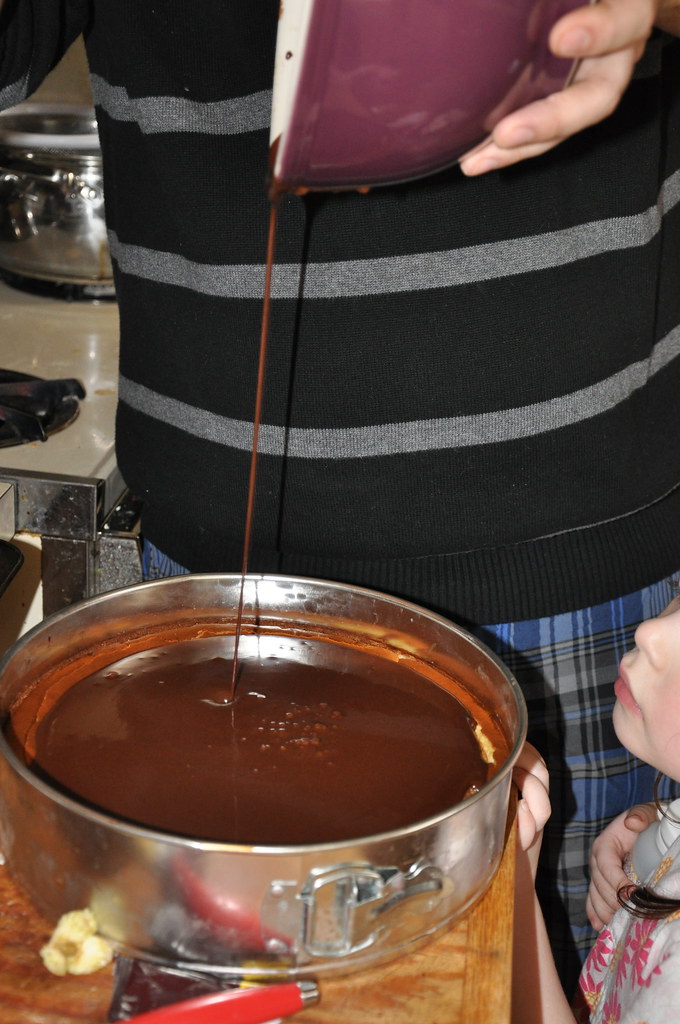
The next day unsatisfied with the appearance I tried making a chocolate glaze. Taking the buttermilk and sour cream we had on hand and mixing in some 1% milk I warmed that and then poured over chocolate. The consistency was good and the flavor was actually really good. The only problem was that it never set up properly so there was chocolate oozing all over the place. 
Needless to say, this wasn't my best cheesecake, in fact I didn't particularly care for it. I did like the cheesecake but the chocolate was a bit disappointing. But that won't detour me from trying again!
Have you ever tried cheesecake? If so what do you think? If not, try it, it's simple and very diverse and you never know you may discover your own Great Cheesecake.
--Eric


*For the record, the cheese cake tasted delicious, the sauce was runny, and it was hard to cut. Who doesn't love chocolate oozing all over the place? But the cheesecake itself was pitch perfect. Thanks Eric for joining us for a weekly post!

Follow this blog with bloglovin

Follow on Bloglovin

LinkWithin

Blog Widget by LinkWithin